
Introduction
An embroidery machine cannot read a logo the way a person reads it. It needs a stitch file, a set of clear instructions that tells the needle where to go, in what order, and with what kind of stitch. That stitch file is the product of embroidery digitizing services, and the quality of that file decides whether a finished logo looks clean and professional or looks uneven, puckered, and hard to read. Accurate Digitizing provides custom embroidery digitizing for embroidery shops, uniform suppliers, and small businesses across the USA, turning artwork into machine-ready files that are built by hand, tested by sewing, and delivered ready to run.
Many orders start with a simple need. A shop has a customer logo and a deadline. A uniform supplier has a new company order and needs the same logo on shirts, caps, and jackets. A small business owner has a design on a screen and wants it on real garments for the first time. In each case, the artwork alone is not enough. A JPG, PNG, or PDF shows the design, but it does not tell a machine how to stitch it. A digitizer reads that artwork, plans the stitch path, sets the density and underlay for the fabric, and builds a file in the format the machine uses. When that work is done well, the logo sews smoothly, the letters stay readable, and the colors sit where they should. When it is done poorly, the problems show up on the garment, and they are expensive to fix after the fact.
This page explains the whole service in one place. It covers what digitizing is, who orders it, the nine techniques Accurate Digitizing offers, how pricing works, how to place an order, which formats are delivered, what to send with an order, and the mistakes that most often ruin a file. If you already know what you need, you can request a quote and expect a reply within 1 hour. If you are still deciding, the sections below give you the detail you need to order with confidence.
What Embroidery Digitizing Is
Embroidery digitizing is the process of converting artwork into a stitch file that an embroidery machine can follow. The digitizer studies the logo or design, decides the order in which each part should sew, chooses stitch types for fills, outlines, and lettering, and sets values that suit the fabric and the size of the finished design. The result is a file in a machine format such as DST, PES, or EMB, along with the other formats listed later on this page.
A good stitch file does more than copy the shape of a logo. It accounts for the way thread behaves on real fabric. Small letters need a different approach than large filled areas. Thin lines need support so they do not disappear into the fabric. Large areas need a stitch direction that keeps the surface even. A curved cap needs a different stitch plan than a flat shirt front. These choices are made one stitch at a time by a person who understands both the design and the machine, and that human judgment is what separates hand digitizing from a file produced by automatic conversion software.
Automatic conversion can turn an image into stitches in seconds, but it does not plan. It follows pixels, not intent. It often creates dense areas that pucker fabric, jump stitches that leave loose thread, and lettering that fills in at small sizes. Hand digitizing takes longer, but it produces a file that is planned for the garment, the fabric, and the placement. Every file from Accurate Digitizing is hand-digitized and sew-out tested, which means the design is checked by sewing it before it is sent to you, so problems are caught in testing rather than on a customer garment.
If you need to digitize a logo for embroidery, the starting point is your artwork and a few details about the job. The digitizer needs to know the finished size, the placement, the fabric, and the machine format you use. With those details, the file can be built for the exact job, not for a generic size or a generic fabric that may not match your order.
Who Orders Custom Embroidery Digitizing
Embroidery shops are the most frequent customers for a logo digitizing service, and their needs are practical. A shop may receive a new customer logo every day, and each one needs a stitch file before production can start. Shops order digitizing because it saves machine time, reduces test runs, and keeps the production schedule moving. A clean file means fewer stops, fewer thread breaks, and fewer garments wasted on rework. For a shop working to a deadline, that reliability matters as much as the price.
Uniform suppliers order digitizing for a different reason. They often need the same logo in several placements and sizes, on shirts, caps, jackets, and bags. A left chest logo is not the same file as a cap logo or a jacket back, even when the artwork is the same. Each placement has its own size, its own fabric, and its own stitch requirements. A supplier who orders all of those versions from one digitizer gets files that match each other in style and quality, and that consistency shows in the finished uniforms.
Small businesses order digitizing when they want branded workwear, promotional items, or products to sell. A restaurant may want its name on aprons and caps. A landscaping company may want its logo on polo shirts and jackets. A new brand may want its mark on towels, bags, or patches. These customers often send their first logo and ask what is possible, and they need clear pricing, a clear turnaround time, and a file they can reuse for the next order. That is why the first sample is free, why edits are free, and why the same file can be used again without paying for the same work twice.
Schools, clubs, teams, and community groups also order digitizing for matching apparel, and the same rules apply. The design must be readable at the size it will be sewn, the colors must be clear, and the file must work on the fabric they have chosen. Whatever the customer, the job is the same at its core. Take the artwork, plan the stitches for the garment, test the result, and deliver a file that is ready to run.
Why Choose Us?
Everything your embroidery shop needs — quality, speed, and the best prices in the industry.
Dual Pricing Options
Whether you prefer a flat rate or per stitch count price for your logo digitizing jobs, we are flexible to meet your unique needs. Choose any plan from our dual pricing options when placing your order.
Great Prices & Quality
Our entire work ethic revolves around your experience and trust. Starting at just $10, we offer digitizing services for embroidery that guarantee your satisfaction, with a money-back quality guarantee — no questions asked.
Quick Turnaround
We understand the significance of time and deadlines in the promotional industry. We digitize images for embroidery within 4 to 12 hours, and urgent rush jobs can be delivered in as little as 2 hours.
Sew-Out Tested Files
Every file is hand-digitized — never auto-converted — and test-stitched on a real machine before delivery, so it runs clean on your machines first time.
Every Machine Format
DST, PES, EMB, EXP, JEF, VP3, HUS, XXX and more — all included in one price, with thread colour charts from the major manufacturers.
20 Years of Experience
Our 20 years of experience in converting images to embroidery files has honed our craft to perfection.
How Pricing Works: Flat Rate or Per Stitch
Pricing for embroidery file digitizing at Accurate Digitizing works in two ways, and you can choose the one that fits your order. The first way is a flat rate by technique. Left chest digitizing is $10. Cap digitizing is $15. Applique digitizing is $15. Vector digitizing is $10. Towel digitizing is $20. Chenille digitizing is $25. 3D puff digitizing is $30. Jacket back digitizing is $35. Photo digitizing is $45. These flat rates make the cost clear before you order, and they are the same whether the design is simple or detailed within that technique.
The second way is priced by stitch count, at $2 per 1,000 stitches. This option suits designs where the stitch count is the fairest measure of the work, and it gives a clear link between the size and density of the design and the price. If you are unsure which option fits your design, you can ask for a quote and the price will be confirmed before work starts, so there is no surprise when the file is delivered.
The first sample is free, and edits are free. That means you can see the first version of your design without paying for the sample, and if a change is needed, the edit is included. You can also reuse your file. Once a file has been made for you, you do not pay again to use the same file for another order, because the work has already been done. If you need the same design in a different size or on a different placement, that is a new file, because the stitch plan changes with the size and the fabric, and it will be priced as a new order. For full detail, see the pricing page.
Turnaround is 6 hours as standard, and rush service is available in 2 to 3 hours. A quote reply comes within 1 hour. Those times are part of the service, not an extra to negotiate, and they apply to the techniques listed here.
Cost-Effective Dual Pricing Structure to Choose From
Pick whichever pricing model works best for your workflow. Both options include free edits and all formats.
Our Services
Professional embroidery digitizing, vector art, and design solutions under one roof.
Embroidery Digitizing
- Custom digitizing designs for as low as $10
- Freedom to choose between flat rate and stitch count based pricing
- Free edits and revisions until you are satisfied
- Multiple embroidery software and all machine format files
- Commercial thread colour charts from different manufacturers
Vector Art
- Unbeatable prices starting at $10 with quick turnaround
- Competitive pricing for every level of complexity
- Revisions and edits for your vector artwork absolutely free
- Jagged and blurry images redrawn with perfection
- Colour separation services for all artwork types
Ready Designs & Bulk Orders
- Ask about ready-made embroidery designs and silhouette art
- Professionally created designs for instant use
- Available in all file formats for all machines
- Volume pricing for shops and resellers
- Free designs for sharing your experience with us
Our work
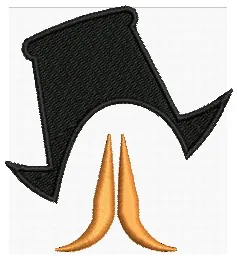
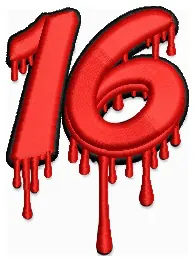
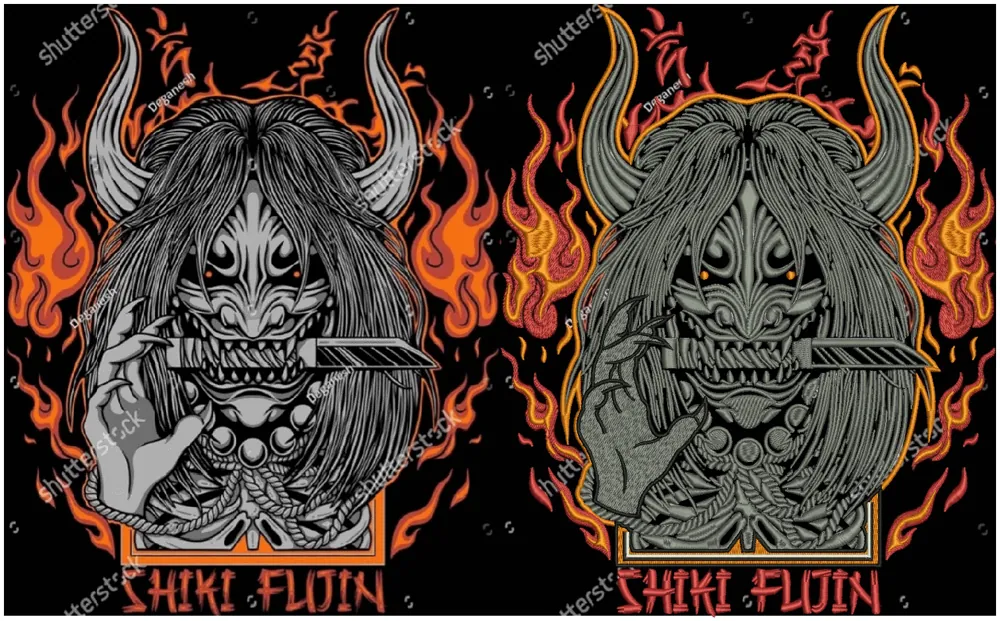
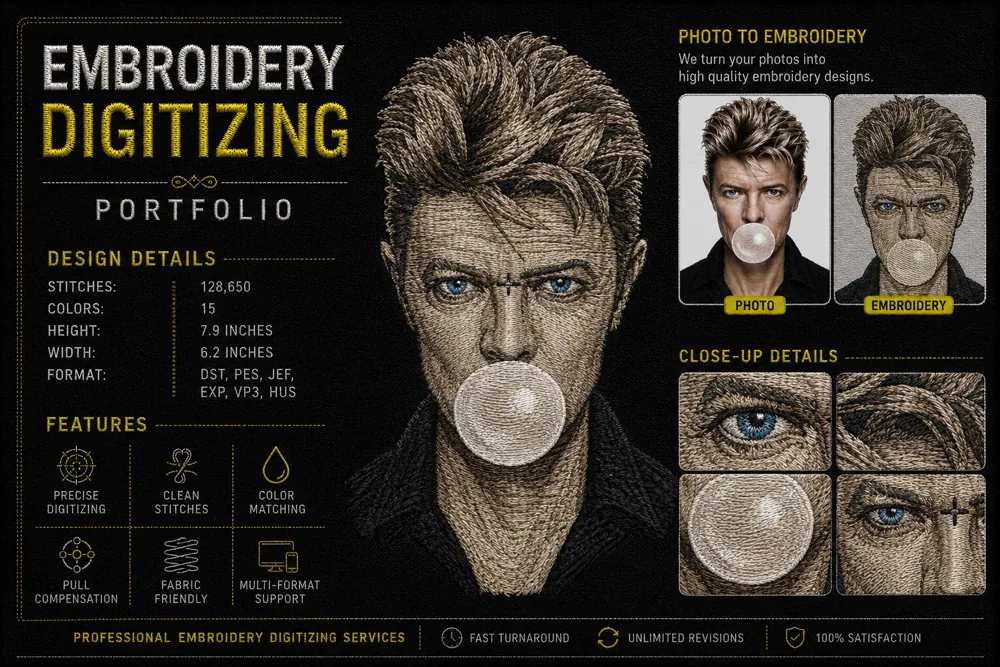
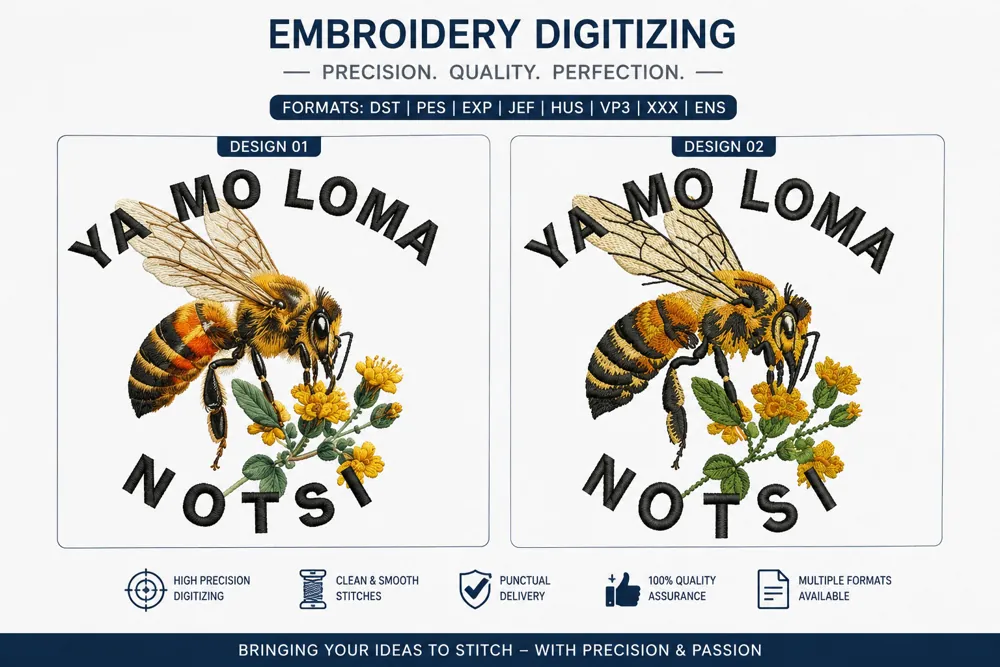
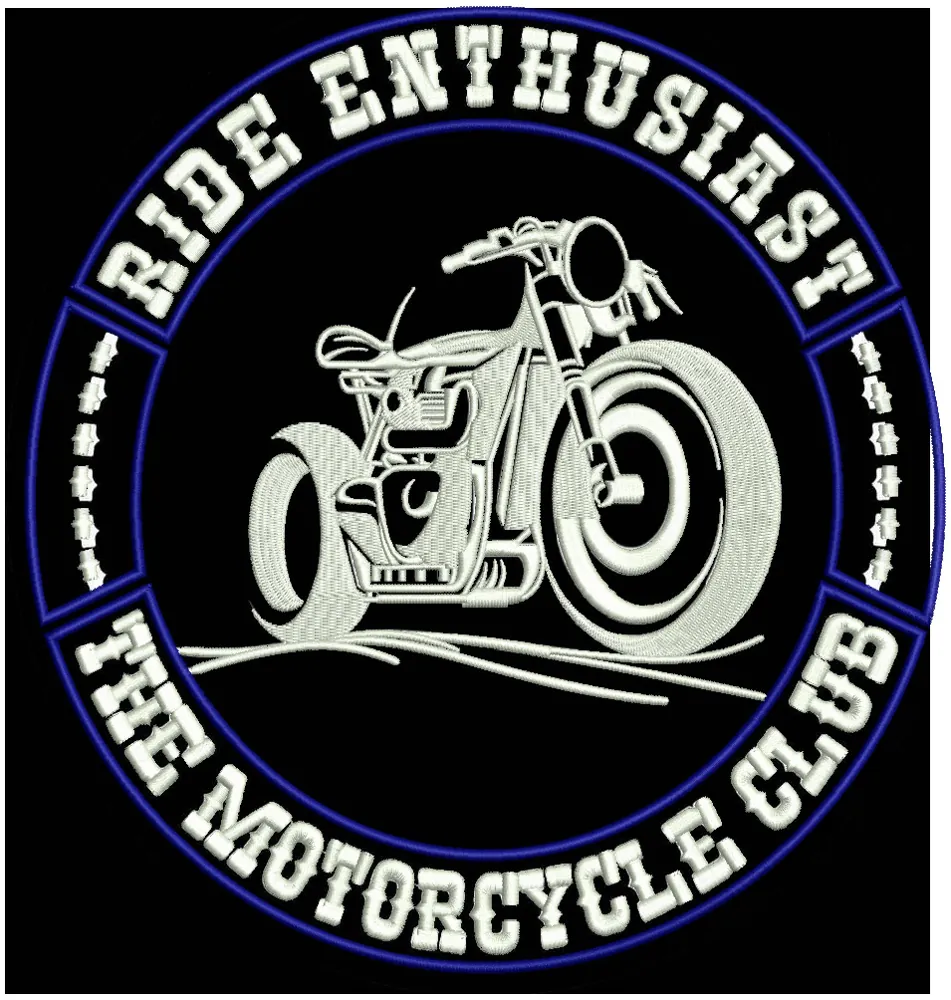
Real Embroidery Digitizing Samples
Explore our portfolio — from portrait embroidery to 3D puff caps, patches, mascots, and more.

We provide
Vector Tracing and Digitizer Embroidery Services For
Nine Techniques, One Service
Accurate Digitizing offers nine digitizing techniques, and each one is built for a specific placement or effect. A customer does not need to know the technical detail behind each one. It is enough to know which one matches the garment and the look you want, and to send the size and fabric details with the order.
Cap digitizing is built for the curved surface of a cap, where the stitch plan must account for the curve and the center seam. A flat design placed on a cap without that planning can distort, so cap files are planned for the shape of the cap from the start. You can read more about this technique on the cap embroidery digitizing page.
3D puff digitizing creates raised lettering and shapes by stitching over foam, which gives the design height and a bold, dimensional look. It is often used for caps and for designs where the lettering needs to stand out. The foam, the stitch density, and the order of stitching all need to be planned together, because a puff design that is not planned well will not hold its shape.
Jacket back digitizing is built for large designs on the back of a jacket, where size, weight, and fabric stability matter. A large design needs a stitch plan that keeps the surface even across a wide area and that does not pull the jacket out of shape. The file is planned for the size and the fabric, not scaled up from a small chest logo.
Applique digitizing is used when fabric pieces are stitched onto a garment to form a design, rather than filling the whole shape with thread. The file includes the placement stitch, the tack-down stitch, and the finishing border, in the right order, so the fabric piece sits cleanly and the edges are covered.
Left chest digitizing is built for the small, classic placement on shirts, polos, and jackets. Small lettering is the hardest part of this work, because letters that look fine on a screen can close up or blur when they are sewn small. Left chest files are planned so the text stays readable at the finished size. You can read more on the left chest logo digitizing page.
Photo digitizing turns a photograph or a detailed image into a stitch design, using stitch direction and color blending to suggest shading and detail. It is a different kind of work from a logo, because a photo has gradients and fine detail that thread cannot copy exactly, so the digitizer plans how to suggest that detail with stitches.
Vector digitizing converts artwork into a clean vector file, which is useful when a customer has a low-resolution image or a design that needs to be redrawn cleanly before it is digitized. A clean vector gives the digitizer a clear shape to work from, and it also gives the customer a usable version of their artwork for other uses.
Towel digitizing is built for the thick, looped surface of a towel, where stitches can sink into the pile and disappear. The file uses a stitch plan that sits on top of the pile and keeps the design visible, with underlay and density set for that specific fabric.
Chenille digitizing creates the soft, textured look of chenille, often used for varsity letters and patches. The stitch plan builds the raised, looped texture in layers, so the finished design has the depth and feel that chenille is known for.
Together, these nine techniques cover the placements and effects most shops and businesses need, and each one is hand-digitized and sew-out tested before delivery.
Outsource your jobs to us and save up to 70% of your costs!
Accurate Digitizing For Absolute Results
We're proud of our industry-leading standards to digitize image for embroidery, where we offer affordable prices without compromising on quality.
What's more? We work 6 days a week from Monday to Saturday and are available around the clock by email.
About Us
How Ordering Works in Four Steps
Ordering is kept simple, and each step has a clear purpose. You do not need to know embroidery terms to place an order. You only need your artwork and the details of the job.
First, send your artwork and your job details through the quote form. Include the design file, the finished size you want, where it will be sewn, what fabric it will be sewn on, and which machine format you need. If you are unsure about any of those details, say so in the form, and the quote reply will confirm what is needed. You can start this step on the get a quote page.
Second, receive your quote and confirm the order. The quote reply arrives within 1 hour and confirms the price, the turnaround time, and the format. Once you confirm, work begins. There is no payment surprise at this stage, because the price is confirmed before the file is built.
Third, your file is built by hand and checked by sewing it out. The digitizer plans the stitch path, sets the density and underlay for your fabric, and builds the file in your format. Then the design is sewn out as a test, so the stitching can be checked on real fabric before the file is sent to you. If the test shows a problem, it is fixed at this stage, not after delivery.
Fourth, receive your file and use it. The finished file is sent to you in the format you asked for, ready to load onto your machine. If you need a change after seeing the file, edits are free, and the updated file is sent to you. Your file is yours to reuse for future orders in the same size and placement.
That is the whole process. Send the artwork, confirm the quote, let the file be built and tested, and receive a file that is ready to run.
How It Works
From artwork to a production-ready embroidery file in four simple steps. Read the full ordering process or check our price list.
- 1📤
Send Your Artwork
Upload your design with the quote form or email it — JPG, PNG, PDF, AI, EPS, CDR or SVG.
- 2💬
Receive Your Quote
Within 1 hour you get an exact flat-rate price. No payment upfront.
- 3🧵
We Digitize It
An expert hand-digitizes your design and sew-out tests it on a real machine.
- 4📥
Download Your Files
All formats by email in 6 hours or less. Edits are always free.
Formats Delivered and What to Send With an Order
Accurate Digitizing delivers files in DST, PES, EMB, EXP, JEF, VP3, HUS, and XXX. These formats cover the machines most shops in the USA use, and you can ask for the format your machine needs when you order. If you use more than one machine, or if you are unsure which format your machine takes, say so in the quote form, and the reply will confirm the right choice.
| Format | Common use |
|---|---|
| DST | Widely used machine format, suitable for many commercial machines |
| PES | Common format for Brother and Babylock machines |
| EMB | Editable Wilcom format, useful when a file may need future changes |
| EXP | Melco and Bernina machine format |
| JEF | Janome machine format |
| VP3 | Viking and Pfaff machine format |
| HUS | Husqvarna Viking machine format |
| XXX | Singer machine format |
What you send with an order makes a direct difference to the result. Send the clearest version of your artwork you have, in JPG, PNG, PDF, or a vector file if you have one. A clear, high-resolution image gives the digitizer clean edges to work from. A blurry or very small image leaves the digitizer guessing at shapes and letters, and that guesswork shows in the finished stitching. If you have the original logo file from your designer, send that. If you only have a photo of a printed logo, send the clearest photo you can, and say so in the order.
Along with the artwork, send the finished size in inches, the placement, the fabric, and the thread colors if you have them. A left chest logo that will be sewn at 3.5 inches wide needs a different file than the same logo sewn at 4.5 inches wide. A design on a polo shirt needs a different density than the same design on a thick jacket. These details are not extra paperwork. They are the information the digitizer uses to build a file that works on your garment.
If you have a reference photo of a similar finished design, you can send that too. It helps the digitizer understand the look you want, especially for 3D puff, chenille, or photo work, where the texture and finish matter as much as the shape.
Mistakes That Ruin an Embroidery File
Three mistakes cause most ruined files, and all three are avoidable. The first is auto-conversion. Software that converts an image to stitches automatically does not plan the stitch path, does not set underlay for the fabric, and does not test the result. The file it produces may look right on a screen, but it often sews with dense, puckered areas, loose jumps, and lettering that fills in. Hand digitizing avoids this because a person plans each part of the design for the fabric and the size, and then the file is sew-out tested.
The second mistake is wrong density for the fabric. Density is how close together the stitches sit. A density that works on a stable woven fabric may be too dense for a soft knit, where it will pucker and pull. A density that works on a jacket may sink into a towel and disappear. The right density depends on the fabric, and it must be set when the file is built, not guessed afterward. This is why the order form asks for the fabric. A file built without that detail is built blind.
The third mistake is shrinking a logo without rebuilding it. A logo digitized for a jacket back cannot simply be made smaller and used as a left chest logo. Small letters need wider spacing and a different stitch plan. Fine details that work at a large size disappear at a small size. Thin lines that work large become unreadable small. When a design changes size in a meaningful way, it needs a new file built for that size. Reusing a file at a very different size is one of the fastest ways to get a design that looks fine on screen and fails on the garment.
A fourth problem is worth noting. Sending low-resolution artwork and expecting a clean result. A digitizer can work from a clear image, but a small, blurry logo forces choices that may not match the original design. Sending the best artwork you have, and being clear about the size and fabric, gives the digitizer the best chance to build a file that sews cleanly the first time.
If you have a design that has failed before, send it with a note about what went wrong. A file that puckered, a logo where the letters filled in, or a design where the colors did not sit right can often be fixed by rebuilding the stitch plan for the fabric and size, rather than by adjusting the machine alone. You can see examples of finished work on the portfolio page.
Pricing and Turnaround Facts Box
Standard turnaround: 6 hours. Rush turnaround: 2 to 3 hours. Quote reply: within 1 hour. First sample free. Edits free. Files hand-digitized and sew-out tested.
Left chest $10. Cap $15. 3D puff $30. Jacket back $35. Photo $45. Vector $10. Towel $20. Chenille $25. Applique $15. Or $2 per 1,000 stitches.
Formats delivered: DST, PES, EMB, EXP, JEF, VP3, HUS, XXX.
Contact: info@accuratedigitizing.com
FAQs